Even though it doesn't offer unlimited photo storage anymore, Google Photos is still one of the best apps to store memories. One of the reasons why Google Photos is so prominent is because it can be accessed on any device. Be it Android, be it iPhone, or even the web, Google Photos is accessible on almost all the devices and even the experience is almost the same. Google is now rolling out the new Real Tone feature to all iPhones and Android smartphones. Here's how you can use it to get better skin tones in your photos.
What is Real Tone?

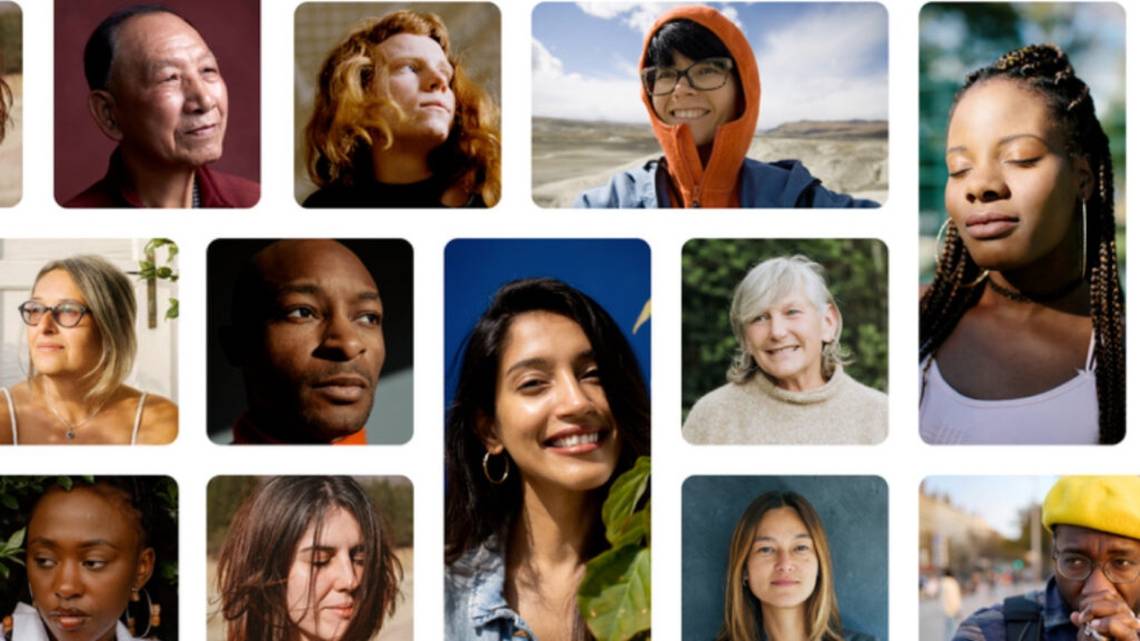
Source: Google
Google first announced the Real Tone feature during the announcement of Pixel 6/6 Pro. The company says that cameras of the modern era are not inclusive. Instead, the company says that most modern-day cameras exclude people of color, especially those with darker skin tones. Pictures are memories so it's important that they work fairly for everyone, no matter the skin tone of the subject. The company then revealed that it made the cameras on the Pixel 6 series "more inclusive" so it captures a wide variety of human skin tones.
Earlier this month, during the I/O 2022 keynote, Google announced that it will be bringing the Real Tone feature to all devices via the Google Photos update. Some new filters have been added to Google Photos that allow the users to manually change the skin tone of the subject. The Google Photos Real Tone technology uses the open-source Monk Skin Tone Scale. The MST scale is a 10-shade scale that Google has created in partnership with the Harvard professor and sociologist Dr. Ellis Monkis. This scale uses machine learning to make the images more inclusive by better interpreting tones and shades.
We worked with a diverse range of renowned image makers, like Kennedi Carter and Joshua Kissi, who are celebrated for beautiful and accurate depictions of their subjects, to evaluate, test and build these filters. These new Real Tone filters allow you to choose from a wider assortment of looks and find one that reflects your style
— Tulsee Doshi, Head of Product, Responsible AI, Google
The new Real Tone filters are now available in Google Photos. If you use the Real Tone feature on Google Photos, a new "Made with Real Tone" label will appear alongside it. Here's how you can apply Real Tone filters in Google Photos on Android, iPhone, and the web.
https://twitter.com/googlephotos/status/1529145830199787520
How to use Real Tone on Android and iPhone
Using the Google Photos' Real Tone feature on Android and iPhone is pretty simple. But, before we ahead and tell you how you can use it on your device, make sure you're running the latest version of Google Photos on your Android and/or your iPhone. Once you've installed the latest update on your smartphone, follow these steps:
- Open the Google Photos app and select the photo that you want to edit.
- Now select the Edit button from the toolbar — the one with three sliders/faders.
- Now head over to the Filters tab.
- Now select one of the Real Tone filters: Playa, Honey, Isla, Desert, or Clay.
- If you feel like the filter's good enough, tap on Save.
- If, however, you want to change the strength of the filter, tap on the filter again and select adjust.
- Fine-tune the photo as per your preference and hit Save.
How to use Real Tone on desktop
The Real Tone feature is also on Google Photos desktop. Though the editing features aren't as advanced as the mobile versions, you can still apply the Real Tone filters. Here's how you can get better skin tone in your Google Photos on your desktop:

Sample Photo Used: Generated Photos
Source: Pocketnow
- Open Google Photos on the web and select the photo that you want to edit.
- Select the Edit icon from the top-right — the icon with three sliders/faders.
- Next, select the Filters tab and then select one of the new Real Tone filters — Playa, Honey, Isla, Desert, or Clay — that you want to apply to the picture.
- You can adjust the strength of the filter using the slider just below the filter you've selected.
- Once done, select the Done button. Additionally, you can download the image right on your device by selecting the three dots and then Download.
Real Tone is an easy way of getting accurate skin tones in your photos if you don't like the output of your smartphone's camera. Google says it will continue working with Monk to improve the scale even further, so you can expect the Real Tone feature to perform even better in the future. If you haven't spotted the feature in your app yet, don't panic. The rollout is still in the early stages and the feature should hit your smartphone very soon.