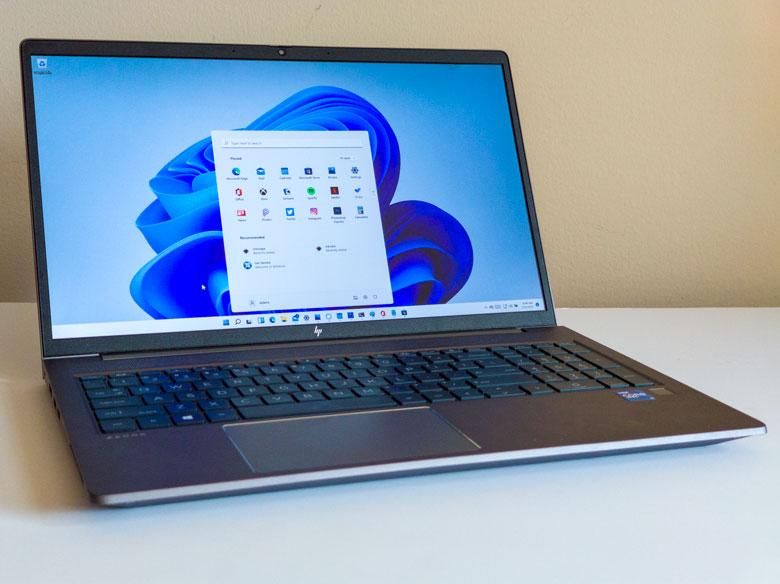
Windows 11 will be available to Windows 10 users via Windows Update starting on October 5, 2021 and it will be a free update. Windows 10 was a free upgrade from Windows 7 and 8 installations, but that was supposed to be only temporarily free. It sounds like Windows 11 will be completely free with no time limit as long as it’s installed as an upgrade. Years ago, Microsoft required users to pay for new operating system version upgrades. Windows 8 was $40 as an upgrade and that was a huge discount from the normal prices. Windows 10 was supposed to be the last version of Windows in terms of major version upgrades as it was meant to be a “software as a service” model. Windows as a Service was kind of awful though. See: “Windows as a Service” isn’t really working It got a lot better in the past couple years where they stopped added broken features and started fixing bugs and keeping things stable though. That’s all gone now as stable, consistent, familiar, computing systems don’t sell new computers. Windows 11 has an interesting new design that certainly looks nice, but there are a lot of interaction design problems that might degrade your ability to get things done. If that’s okay with you and you think it’s worth a try anyway, please proceed.
Test your system
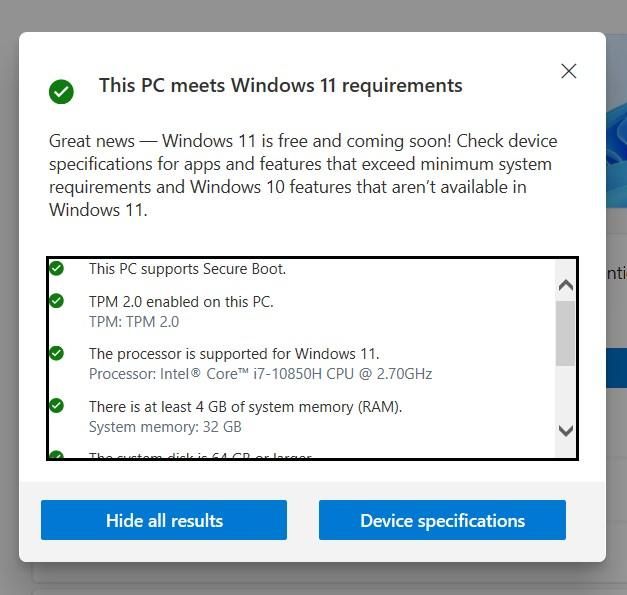
Depending on your current computer, you may not even be able to upgrade to Windows 11. The easiest way to figure out if you can even get Windows 11 installed is to download and run the PC Health Check Application. This will tell you if your computer has the hardware requirements for Windows 11.
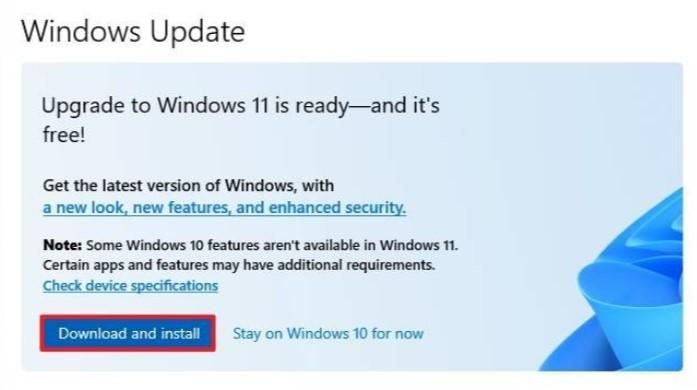
Without that, you might even see a notification in the “Windows Update” section of settings:
Create a System Image Backup
Before you install Windows 11, you should really make a backup of your system. A system image is basically a full picture of what your computer system is like at a moment in time. To do this, you’re going to want an external hard drive that has enough capacity to copy your computer’s entire internal hard drive. 1Tb hard drives are very inexpensive, and having a full backup of your system is something you should be sure to have anyway.
Press the Windows key to open the Start menu, then type “backup”.
Open the Backup Settings.
Click on “Go to Backup and Restore (Windows 7)”
This will give you the classic Windows 7 style backup control panel, which is more extensive than the Windows 10 backup options. It also has a button for “Create a system image” in the upper left side. Click that.
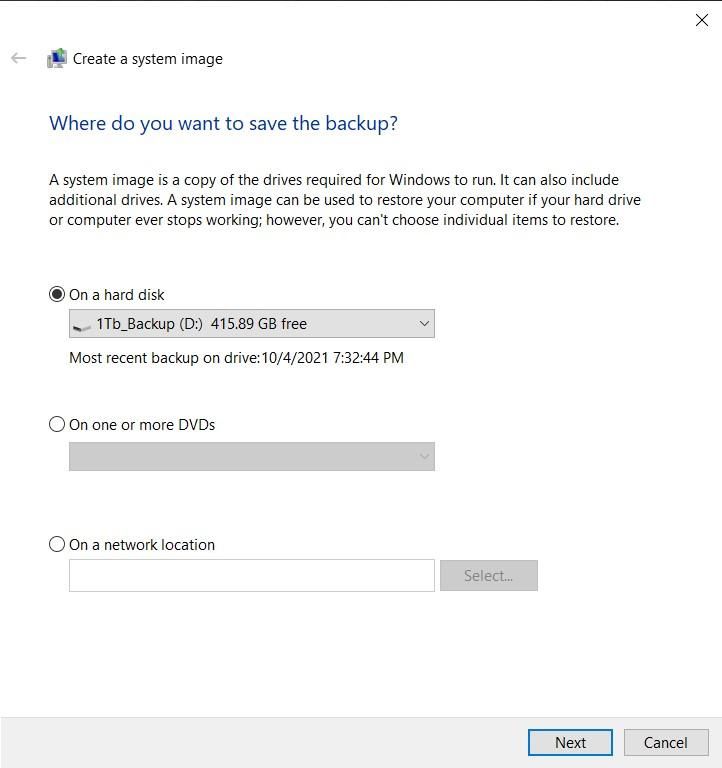
Choose the hard disk you want to backup to and then click “Next”.
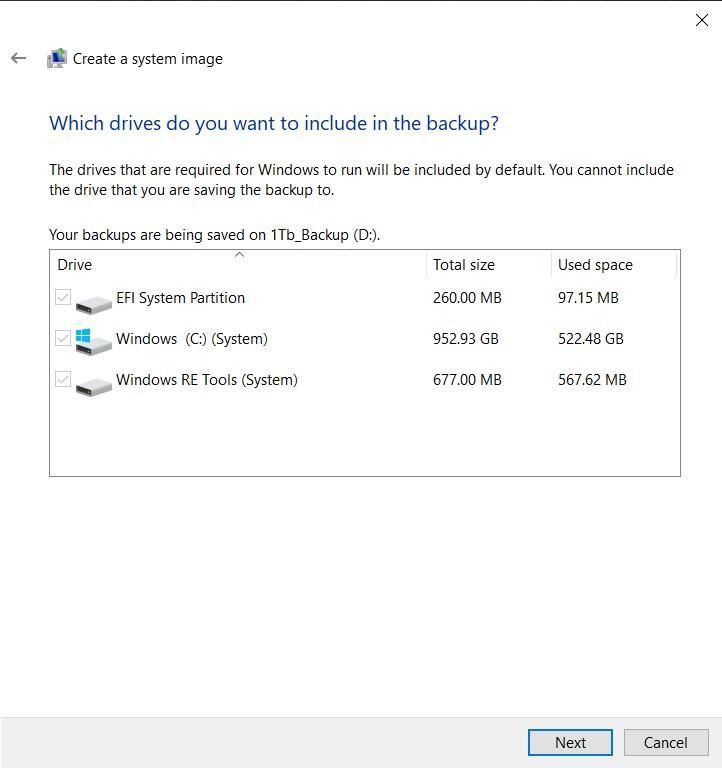
Then you’ll be able to choose the drives on your computer that you want to backup. The essential system disks will be checked by default, so just click “Next” here.
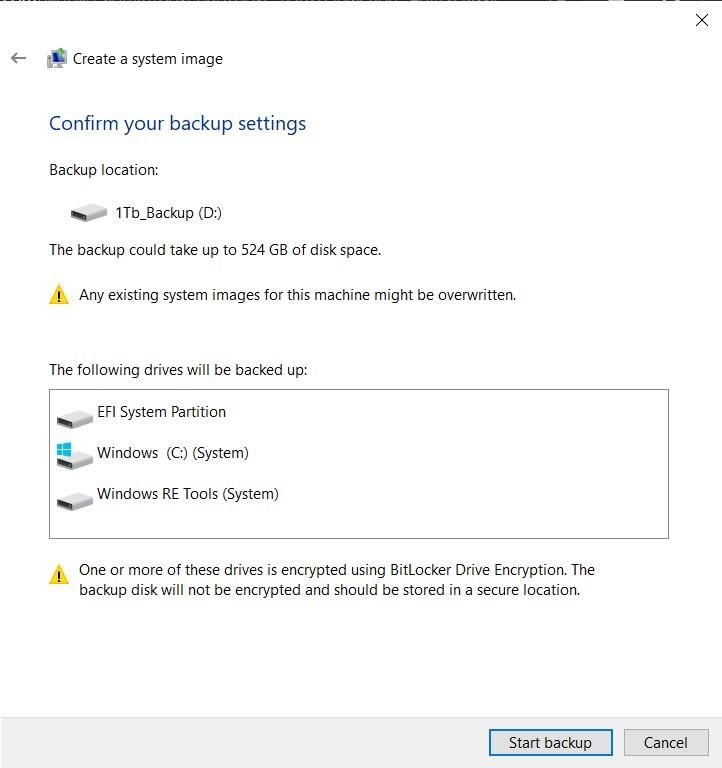
Confirm everything one more time, and click “Start backup” to create a system image on your external hard drive.
Create a boot disk
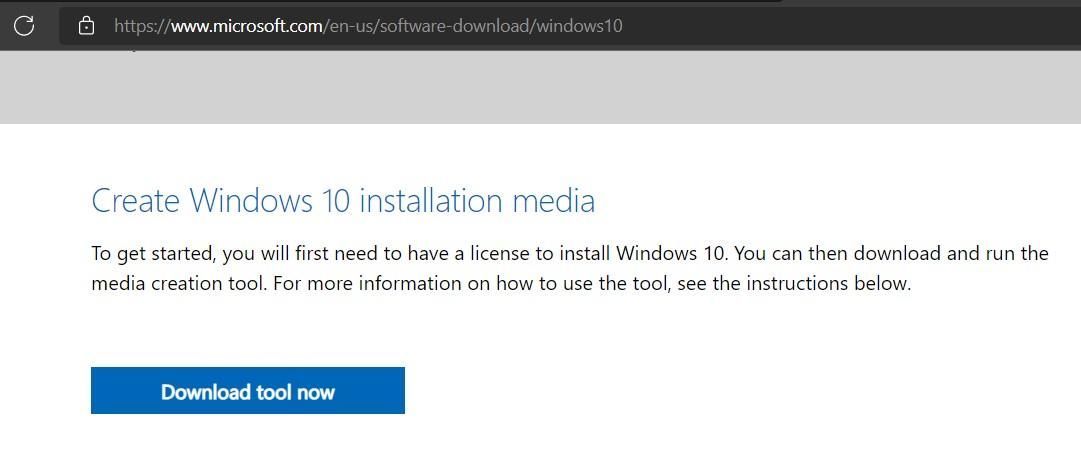
In order to restore the system image, we’ll need to make a Windows 10 boot disk. Start by getting a USB disk with nothing important on it and at least 8Gb of storage space. Then go to Download Windows 10 (microsoft.com) and download the Windows 10 installation media tool.
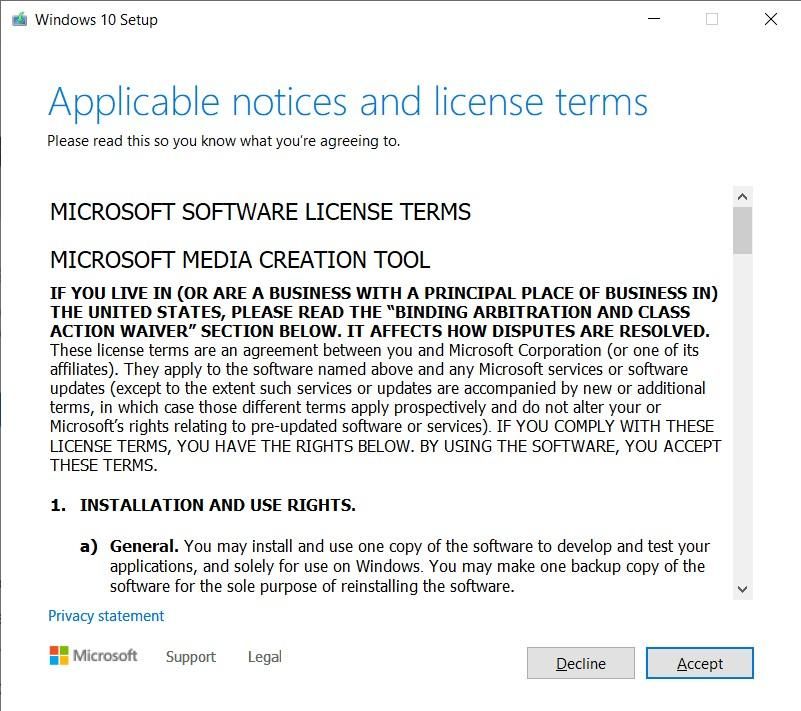
After launching the tool, you’ll have to accept the terms, and wait for “Getting a few things ready” to finish.
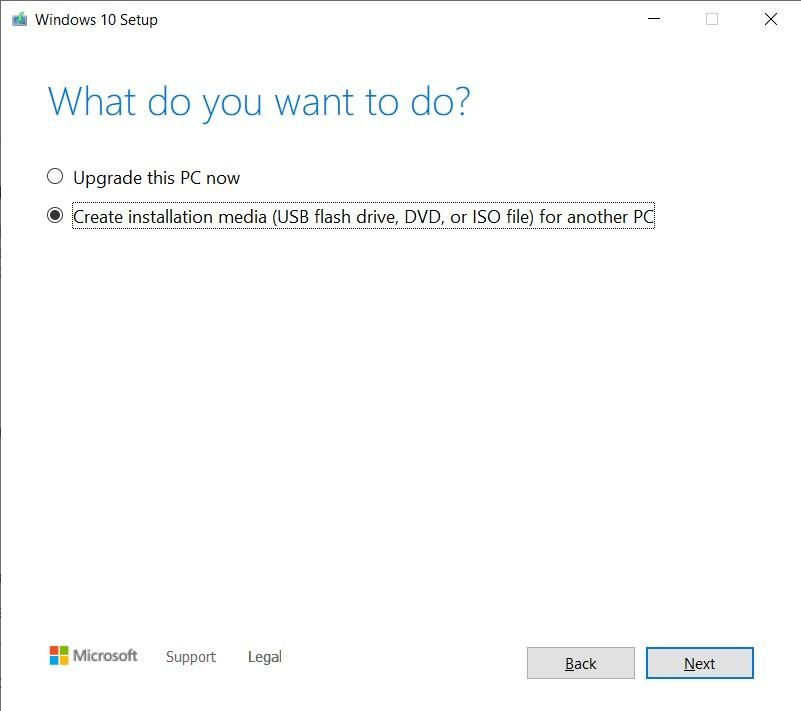
Choose “Create installation media (USB flash drive, DVD, or ISO file) for another PC, then click Next and leave the recommended options turned on.
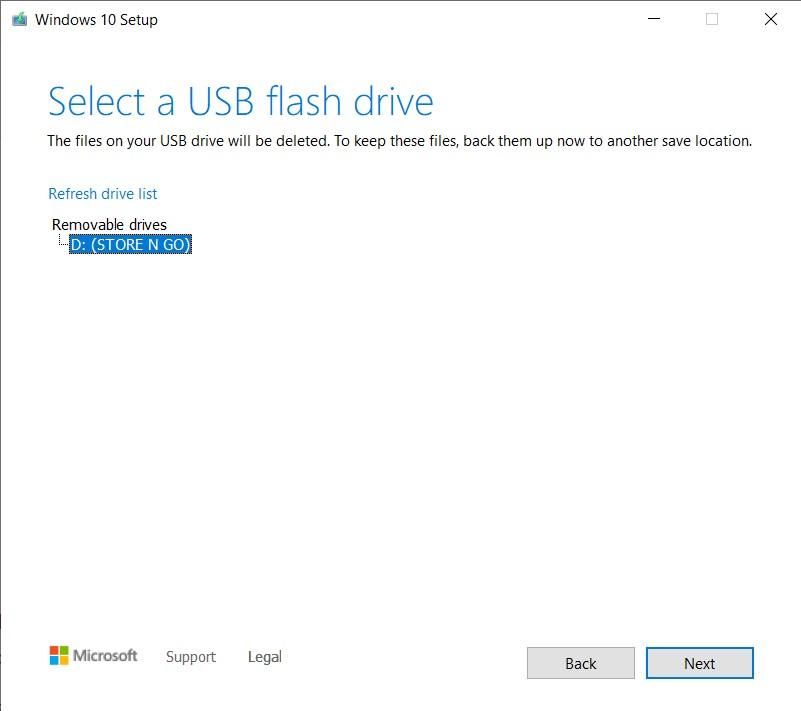
Next, choose “USB Flash drive” for the type of media to use, and make sure you have a drive plugged in.
Click “Next” and if all goes well, the tool will burn the boot software needed to start a fresh install of Windows 10 or restore a system image by booting to the USB disk.
Wait for Windows Update or use the Installation Assistant
The safest way to upgrade to Windows 11 would be to wait for it to appear as an option in Windows 10’s Windows Update settings. This option will start in October of 2021 and go through to 2022. That means you probably won’t get the upgrade right away.
If you do get the update offered in Windows 10’s Windows Update settings, then all you’ll have to do is click the “Download and install” button and restart when the process finishes.
If you can’t wait for that option to appear, you can use the Installation Assistant.
Download the Windows 11 Installation here.
On that web page you’ll want to scroll to the “Windows 11 Assistant” section and click “Download Now”. When the download finishes, click “Open”. Optionally, if you want to do a clean install or make a bootable disk, you can choose the “Create Windows 11 Installation Media” option or the “Download Windows 11 Disk Image (ISO)” option. Those are good for installing on multiple PCs, too, since you can re-use the installation media.
Click “Accept and Install” in order to start the download and installation.
The installation assistant will walk you through the rest of the install process.
If you like the new Windows 11, then you’re all set. You may notice that many features and capabilities you may have relied on in the past are gone though. The new user interface design is less efficient than was was possible in the past. It’s less accessible as well with poor access key support, and many things like the Windows + X menu, taskbar right-click menu, File explorer interface, Start menu customizations, and more have been downgraded to worse than they ever were before.
Restore back to Windows 10
Within 10 days of upgrading to Windows 11, there will be an option to uninstall Windows 11. After 10 days, you’ll be stuck on Windows 11, UNLESS you do a system restore using that system image we made in the first section here.
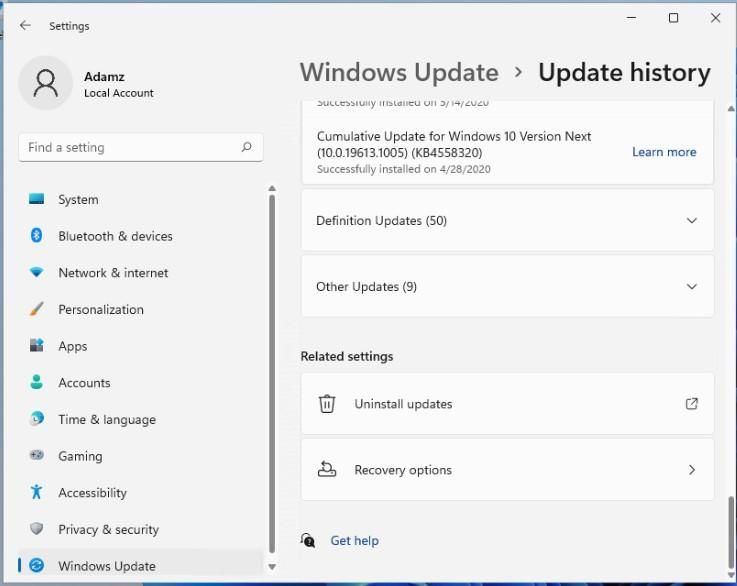
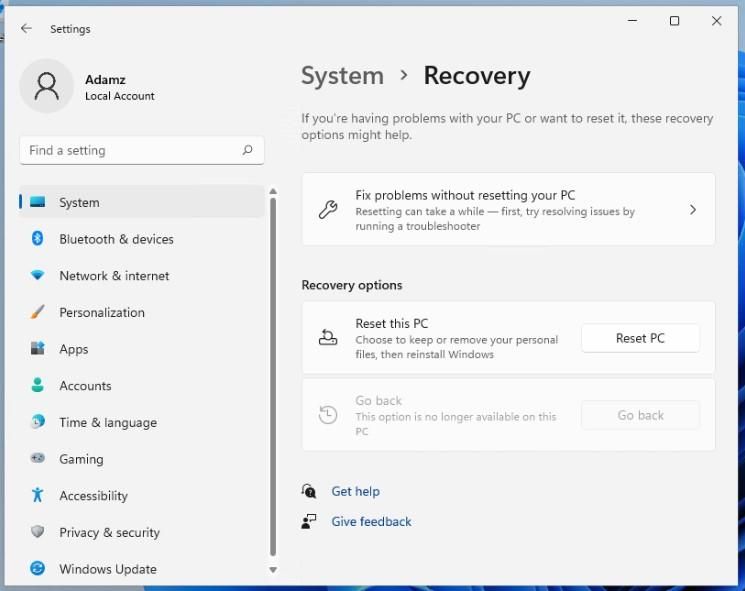
To uninstall Windows 11 before the 10 days are up, you can go to Settings > Windows Update > Recovery options.
Hopefully, here you’ll see a “Go back” button. This will let you restore Windows 10 and get you back to working normally. However, if the option is greyed out as in the above screenshot, you’ll have to restore from a system image.
Restore from System Image
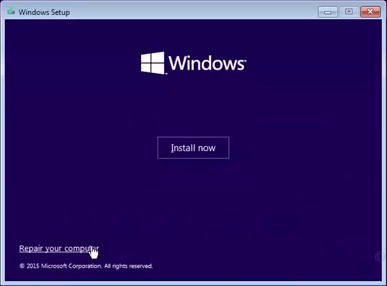
First get the 8Gb USB disk that we made previously to include the Windows 10 installation files. Plug that into your computer and reboot. If the Windows 10 installation “Install now” screen does not come up after a reboot, you may have to change your BIOS settings to allow booting to a USB drive. Each manufacturer’s BIOS settings are different, but accessing them will involve pressing a specific keyboard key during the initial boot process when you turn the system on. It will be something like Esc, F2, F10, or something. You may have to look up the proper key combination on the manufacturer’s website or manual.
If you do get the Windows Install Now screen, click the “Repair your computer” link at the bottom left.
Make sure the hard drive with your system image backup is still connected to the computer. You should see a blue screen with 6 square tile options. Click the one called “System Image Recovery”. This will then allow you to select the system image backup on your external hard drive. If you have more than one, you’ll be able to choose the one you can restore to using the “Select a system image” radio button.
Click “Next” and you’ll be able to choose some options such as “Format and repartition data”, or “Only restore system drives”. The “Only restore system drives” would be good if you have some other data drives where you store files as those probably don’t need to be restored.
Click “Next”, “Finish”, and “Yes” to start the restore process. Make sure your computer is plugged into a power source and keep it running until the restore process finishes.
Finally, when you reboot, you’ll be back to exactly the old good state that your computer was in when you created the system image.

