Like every year, Apple unveiled the new versions of iOS, iPadOS, macOS, watchOS, and more, at the WWDC 2022. The latest Mac software update brings a number of improvements, including a new way of multi-tasking called Stage Manager. Just like the past few years, Apple has started beta testing the upcoming Mac update before it releases the stable version in the fall, and macOS Ventura is available both in the form of Developer and Public beta. Here's how you can install macOS 13 Ventura on your Mac right now.
Before we go ahead and explain how you can install the first macOS 13 developer beta on your Mac, let's go over some of the features that it comes with. The new macOS Ventura offers a number of new features, including a totally redesigned System Preferences, Stage Manager, FaceTime hand-off, and much more. Thanks to the public and developer betas that are now available, you can experience all the new macOS 13 features on your Mac.
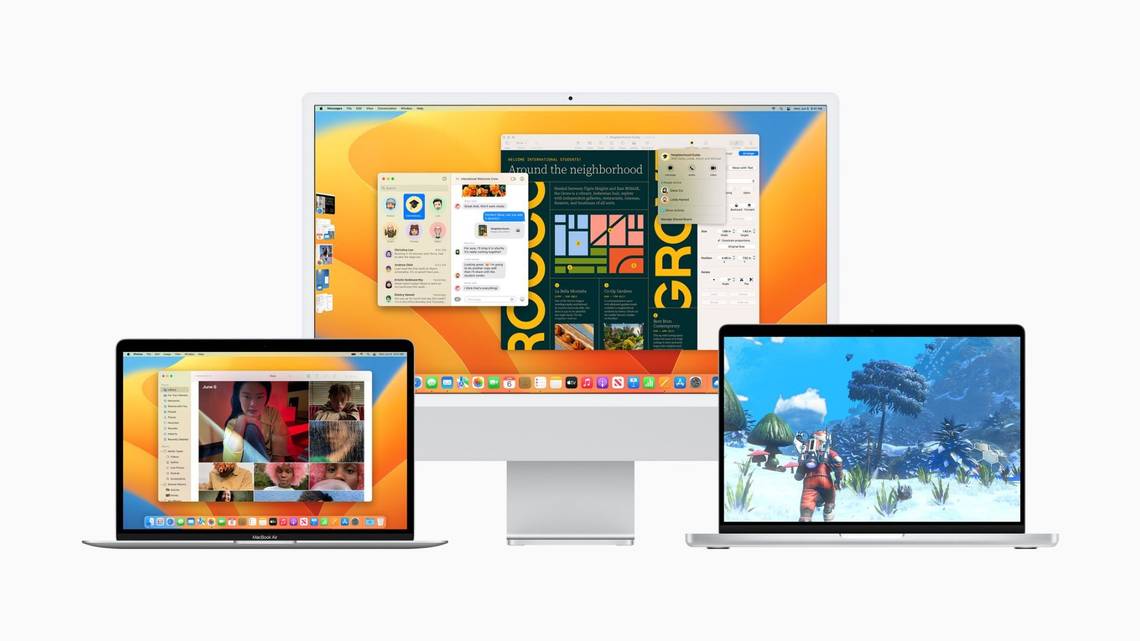
macOS 13 Ventura Beta: Compatible Devices

Source: Pocketnow
Before you try and install macOS 13 on your Mac, make sure that your device is compatible with it. Here's the list of all the Mac models that are compatible with macOS 13:
- Mac mini 2014 or later
- MacBook 2015 or later
- MacBook Pro 2015 or later
- MacBook Air 2015 or later
- iMac 2015 or later
- iMac Pro (all models)
- Mac Pro 2013 or later
Read: 10 hidden macOS Ventura features you should know
macOS 13 Ventura Beta: Things you should know before installing
Here are some things that you should keep in mind before installing the macOS 13 Ventura Developer Beta on your Mac:
- Create a Time Machine backup of your Mac running macOS Monterey. Though your data will stay intact after the update, it is strongly recommended to take a backup in case things go wrong during the installation.
- macOS beta builds are generally quite buggy and aren't stable enough for daily use. If you rely on your Mac for daily work, we recommend you to skip the update and instead wait for the stable release, which will be available for download in the fall.
- macOS beta updates are generally quite heavy in file size, sometimes even bigger than 9GB. Make sure you have access to a fast internet connection.

Source: Apple
If you don't have an Apple Developer Account... (Public Beta)
In July, Apple released the Public Beta of macOS Ventura. Here's how you can install macOS 13 Public Beta on your Mac right now:
- Head over to beta.apple.com on your Mac.
- Sign in with your Apple ID and then select macOS on the Guide for Public Betas page.
- In the Get Started section, select Enroll your Mac.
- Click on Install Profile and the macOSDeveloperBetaAccessUtility.dmg should start downloading on your Mac.
- Once the download completes, open the PKG file. Double click on the macOSDeveloperBetaAccessUtility.pkg icon to run the installer.
- Select Continue, click the check box in front of Terms and Conditions, then click the Install button.
- Once the installation is complete, System Preferences should automatically open on your Mac.
- Go to Software Update and then select Upgrade Now in front of the macOS 13 beta.
If you have an Apple Developer Account... (Developer Beta)

Source: Apple
If you have an Apple Developer Account, follow these steps to install the macOS 13 beta:
- Open a web browser on your Mac and head over to developer.apple.com.
- Sign in with your Apple Developer ID and then select the Discover section. Select macOS 13 beta.
- Click on Install Profile and the macOSDeveloperBetaAccessUtility.dmg should start downloading on your Mac.
- Once the download completes, open the PKG file. Double click on the macOSDeveloperBetaAccessUtility.pkg icon to run the installer.
- Select Continue, click the check box in front of Terms and Conditions, then click the Install button.
- Once the installation is complete, System Preferences should automatically open on your Mac.
- Go to Software Update and then select Upgrade Now in front of the macOS 13 beta name.
- After the download is complete, macOS 13 installer should automatically open. If you’re installing on a particular partition, then click on Show All Disks and then choose the drive on which you want to install macOS 13 beta. Now select the Install button and the installation process should start.
The installation of macOS 13 on your Mac will take some time. Your Mac might restart a few times during the process. After the installation is completed, sign in with your Apple ID and then click on Get Started. You can now start using macOS Ventura 13 beta. Make sure to check out all the features that macOS 13 Ventura offers.